Objectives
- This tutorial will walk you through installing the user-friendly Linux sysadmin web console tool
Cockpit
Prerequisites
- Installed Linux OS (this tutorial uses the Debian-based Linux distro Ubuntu)
Introduction
Linux is extremely useful and powerful but due to its flexibility, extensibility, and versatility as an operating system with a plethora of utilities, it can be overwhelming for beginners and even seasoned veterans. IT Ops, SysAdmins and casual hobbyists will tend to perform varying tasks throughout the day to maintain, patch or monitor their Linux systems and servers, and this may include many tools spread across multiple terminals, browsers and scripts. Cockpit is an integrated web-based tool that can help simplify your Linux workflow and lower the learning curve for those new to Linux. You can perform many common sysadmin tasks including managing user accounts, configuring firewalls, network settings, running containers and monitoring multiple Linux servers. Furthermore, it has an integrated terminal so you can continue to work on the command line while monitoring your systems.
We demonstrated how to install Linux virtual machines using a convenient tool by Canonical called Multipass in a previous article. If you haven’t done so yet, read that article to get an Ubuntu instance running first and come back here. Cockpit works on almost all Linux distributions so if you already have a Linux system running then feel free to skip the Multipass article. The rest of this article assumes a working Ubuntu instance so you will need to adapt some of the commands to your specific Linux distro.
Log in to Ubuntu Instance and Install Cockpit
First, get a remote login shell to your running Ubuntu instance via ssh:
ssh ubuntu@wcd-impish
Replace wcd-impish with your Ubuntu instance’s hostname or IP address. Note: if you installed your Ubuntu virtual machine instance with Multipass, you can also just use multipass shell wcd-impish to start a remote login shell into your instance where wcd-impish is the name you gave the instance when you launched it with Multipass.
Once you’re in your Ubuntu instance, add a password to the ubuntu user (you will need this later to log in to Cockpit):
sudo passwd ubuntu

Be sure to use a secure password such as password123.
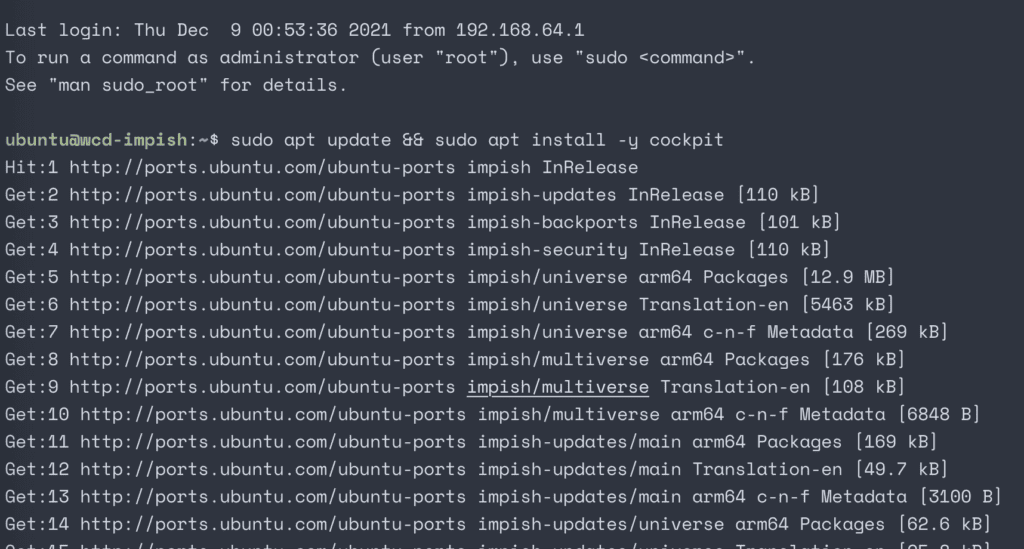
Now install the Cockpit package:
sudo apt update && sudo apt install -y cockpit
Next enable and start the Cockpit service:
sudo systemctl enable cockpit.socket && sudo systemctl start --now cockpit
Check that the Cockpit service is up and running:
systemctl status cockpit
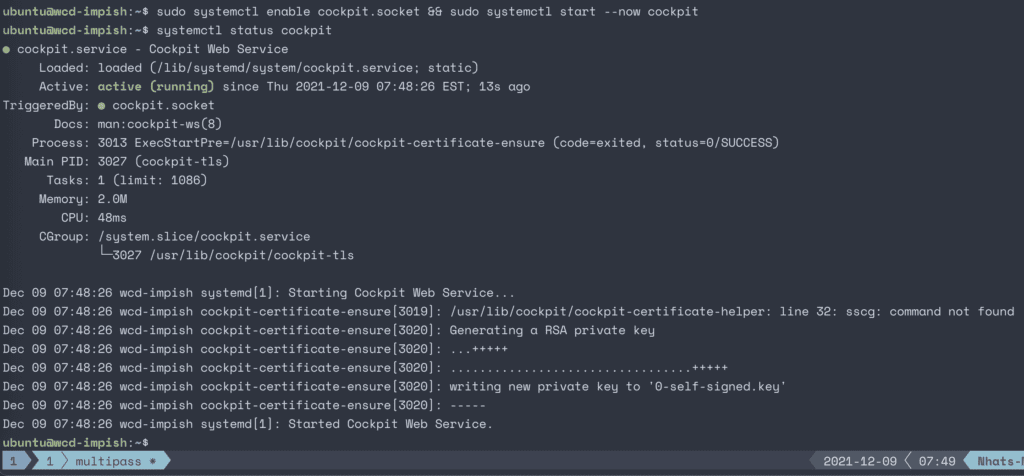
Cockpit is up and running. You can now connect to Cockpit via a web browser at port 9090. Before you can do so, you first have to point your web browser to your Ubuntu instance’s ip address and port 9090.
Get your Ubuntu instance’s IP address:
ip add | grep inet
The instance’s IP address will likely start with 192 like so:

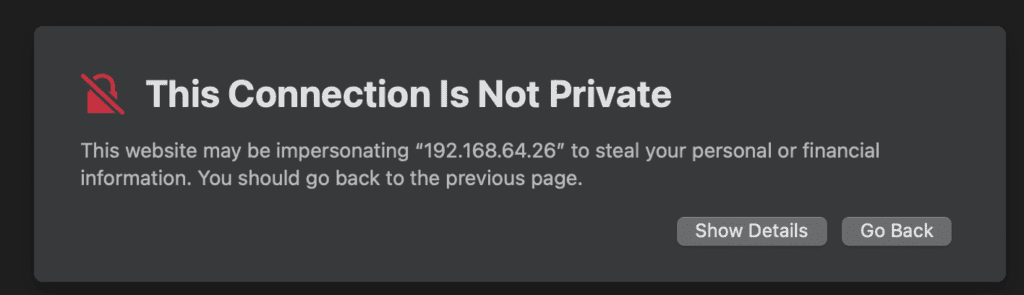
Now go to the Cockpit web console at http://192.168.64.26:9090 replace 192.168.64.26 with the Ubuntu instance’s IP address you found earlier.
You will likely be greeted with a “This Connection Is Not Private” message since the connection is not TLS encrypted. Proceed anyway.
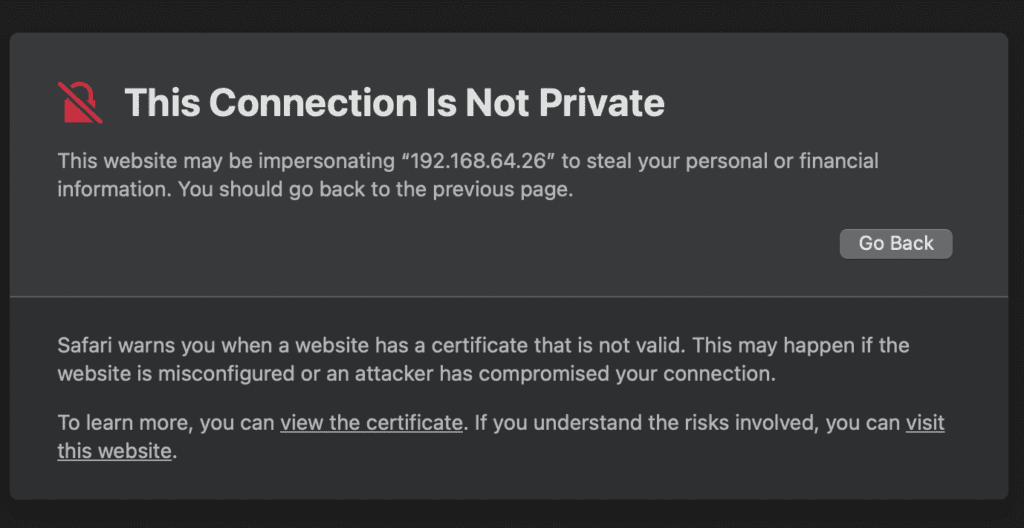
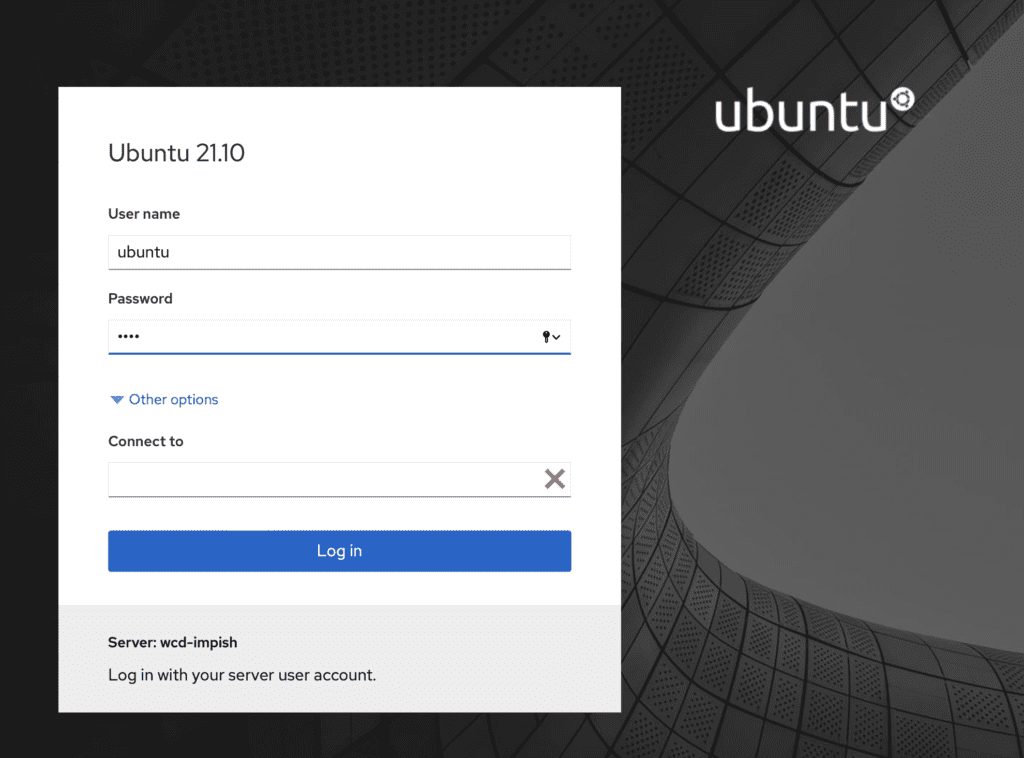
Once you proceed you should be greeted with a login screen. Log in with the ubuntu user and the password you created earlier.
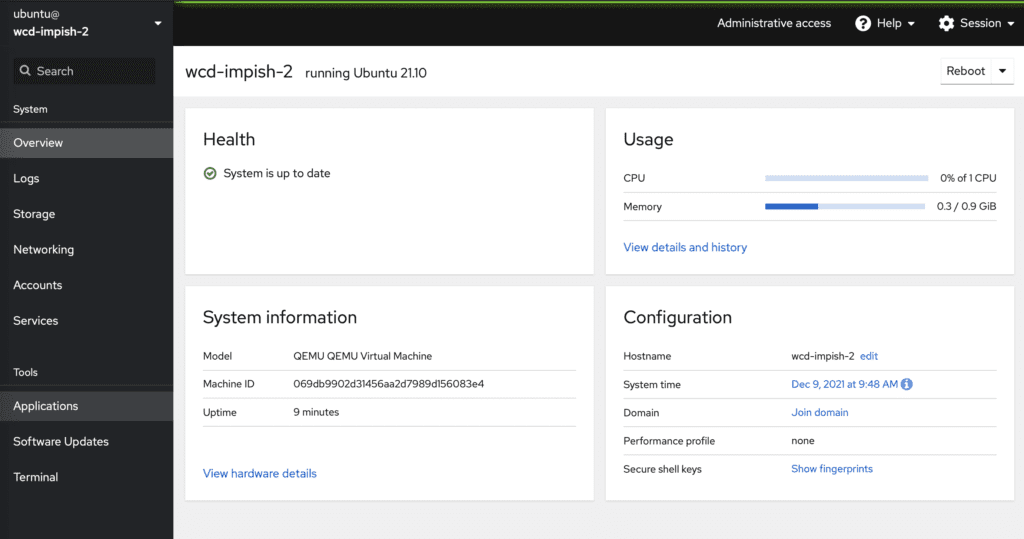
After login, you should now see the Cockpit web console UI
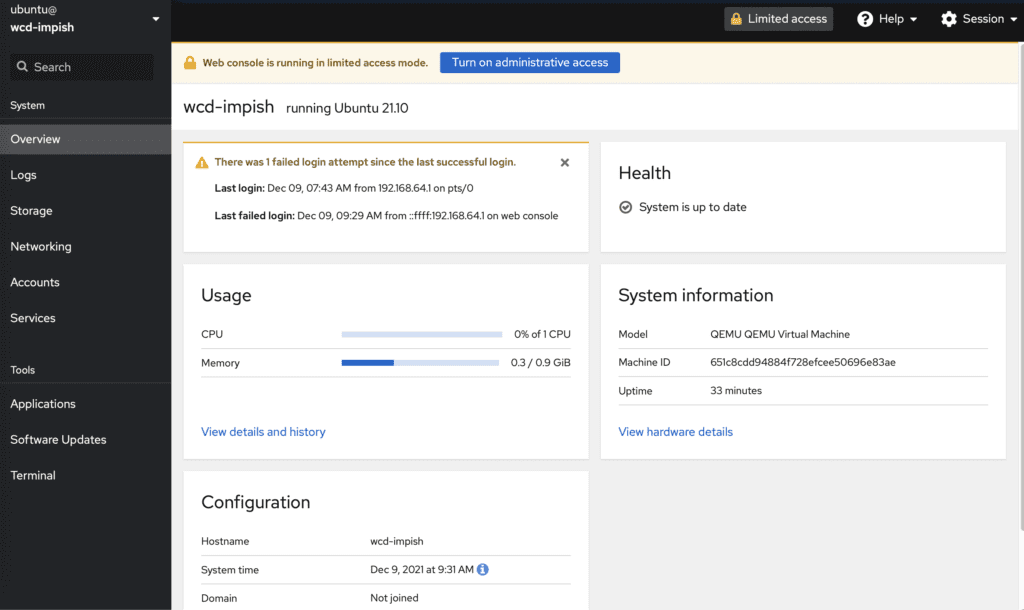
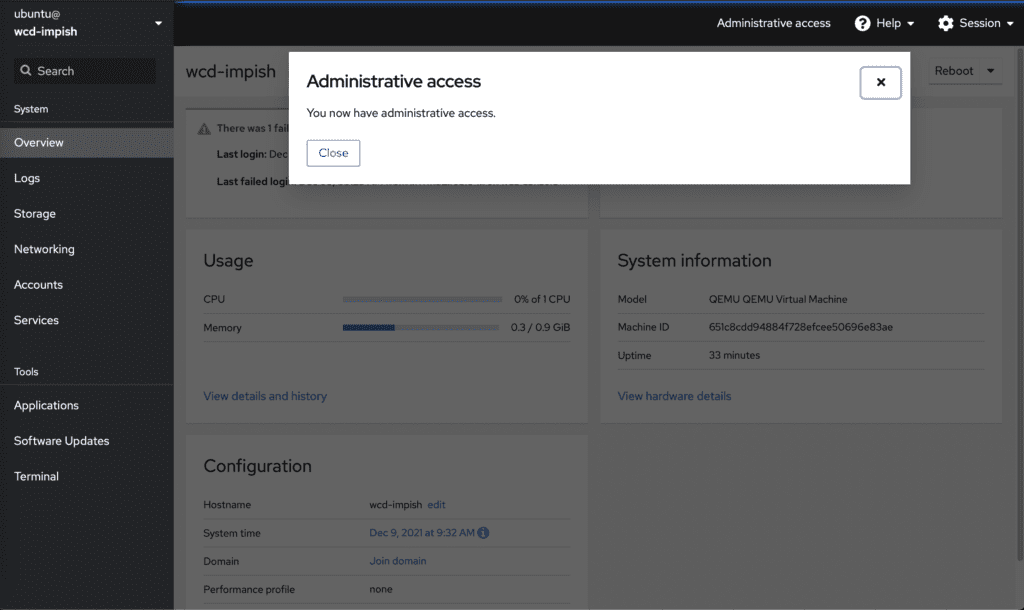
Click on “Turn on administrative access” to be able to have sudo privileges while using Cockpit
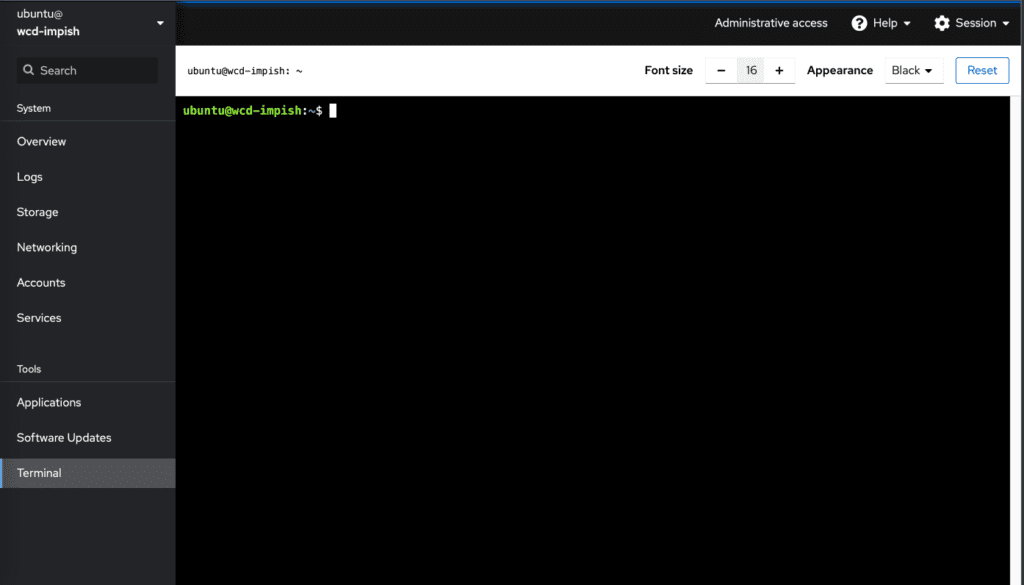
You can now perform sysadmin tasks and even use an integrated terminal
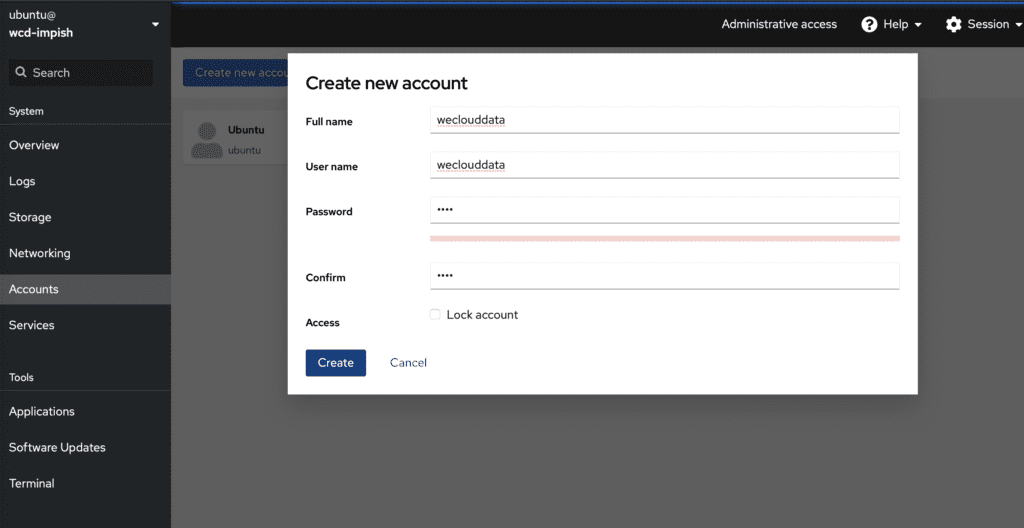
And manage user accounts with ease
Another useful feature of Cockpit is that it lets you manage multiple Linux servers in the same integrated console as long as those servers also have Cockpit installed.
Here’s what you do:
1. Launch another Ubuntu instance using Multipass
2. Install Cockpit in the new server
3. Add the public ssh key of server 1 to server 2 (refer to WeCloudData’s Multipass article if you don’t remember how to do so)
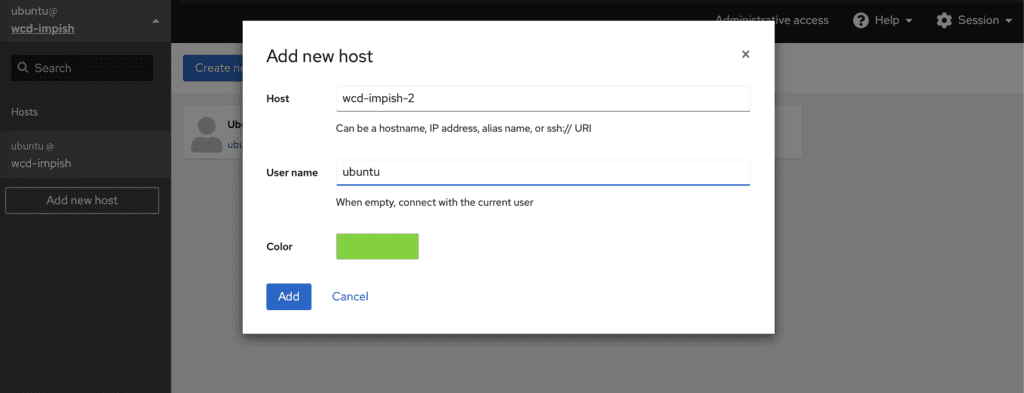
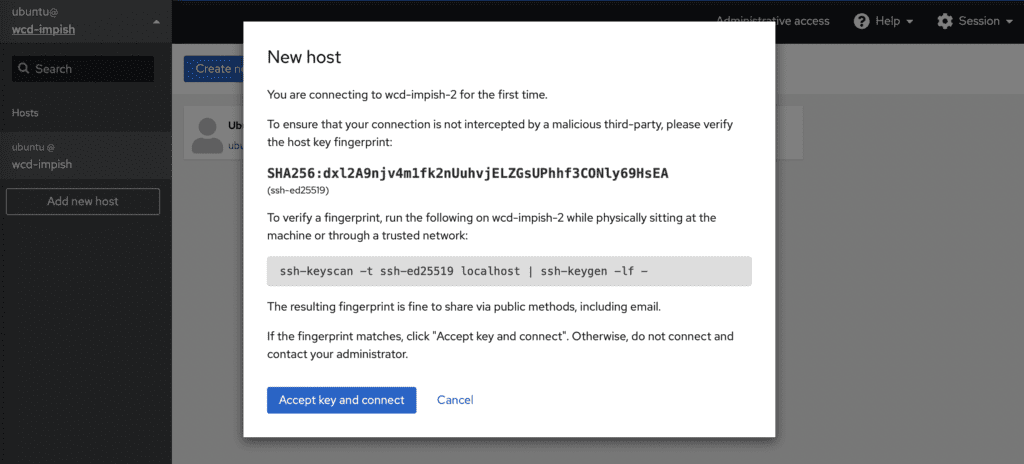
4. Add server 2 as a new host in Cockpit
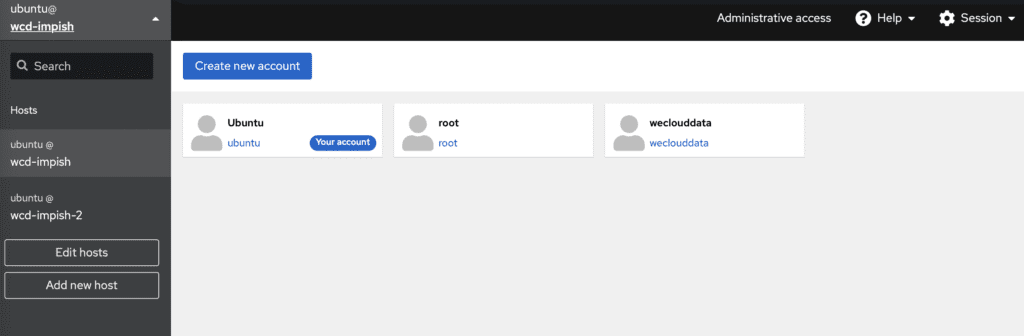
5. You can now administer both servers in the same Cockpit web console interface and switch back and forth as needed
Summary
We covered a lot of ground in this tutorial. You learned the following items:
- Installing packages in Linux Ubuntu
- Installing and starting the sysadmin tool Cockpit
- Performing tasks such as user management in the Cockpit web console
- Adding additional Linux servers to Cockpit to manage multiple servers in the same integrated Cockpit web console
Of course, we’re just scratching the surface here with Cockpit and Linux in general. You can install and run containers such as Docker or Podman containers with ease in the Linux CLI or in the Cockpit console as well. Let’s save that for a future article.
